I previously wrote about how to run AArch64 UEFI on QEMU, but it did not really cover how to do anything useful with it. So here is a follow-up, showing how you can install and run a full Debian installation. The steps below require at least version 2015.01 of linaro-edk2.
Building QEMU
Full support for AArch64 (the 64-bit ARM architecture) was only added into QEMU version 2.2.0, so will probably not yet be in any distribution-provided QEMU. So for now, let's build our own:
$ git clone git://git.qemu-project.org/qemu.git
$ cd qemu
$ git checkout -b 2.2.0-stable v2.2.0
$ ./configure --prefix=/usr/local --target-list=aarch64-softmmu
$ make -j`getconf _NPROCESSORS_ONLN`
$ sudo make install
Create ROM Images
The aarch64 virt machine sports two emulated 64MB NOR flash devices, holding the platform firmware and its persistent environment. We use the IntelBds flavour of the UEFI images, which is what the x86 Ovmf QEMU port does.
$ mkdir ~/arm64-qemu && cd ~/arm64-qemu
$ dd if=/dev/zero of=flash0.img bs=1M count=64
$ LINARO_EDK2_URL=http://releases.linaro.org/15.01/components/kernel/uefi-linaro/
$ wget $LINARO_EDK2_URL/release/qemu64-intelbds/QEMU_EFI.fd
$ dd if=QEMU_EFI.fd of=flash0.img conv=notrunc
$ dd if=/dev/zero of=flash1.img bs=1M count=64
Block devices
We need to prepare image files for the emulated HDD as well as the installation CDROM. The CDROM image, we just download - until Debian Jessie has actually been released, from the weekly snapshots. I would recommend the netinst iso, which is 150MB in size and grabs all packages from the network. If you need to do an installation somewhere with no networking, go for the 4.4GB single DVD image instead.
For the HDD image, we just need to create an empty file of sufficient size to hold our system - I would say 8GB, but if you're doing something very limited you could get away with less.
$ dd if=/dev/zero of=hda.img bs=1M count=8192
Creating a launch script
Since we do not yet have PCI emulation on AArch64 in QEMU (underway) or EDK2 (to be commenced in the next month or so), we cannot simply use -hda and -cdrom so find ourselves in "magic rune" territory. For now, the below script is a simple enough way to launch the emulator.
1 2 3 4 5 6 7 8 9 10 11 12 13 14 15 16 17 18 19 20 21 22 23 24 25 26 27 28 29 30 31 32 33 | |
Launching the model
Save the above script as launch.sh, make it executable with chmod +x launch.sh and launch the emulator with ./launch.sh install. You should end up with something looking a bit like this in your terminal:
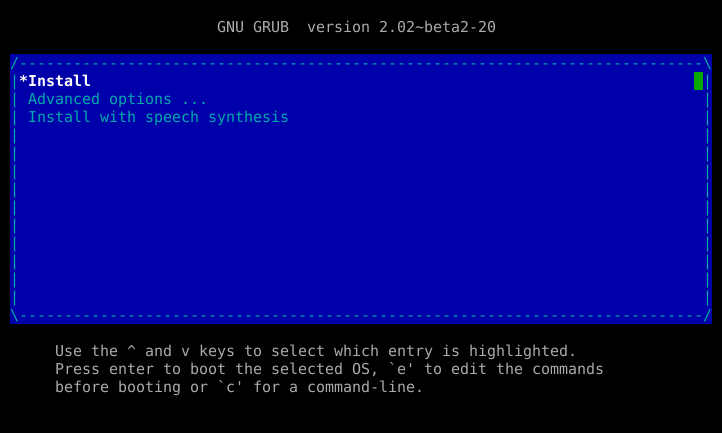 From here on, you have a standard Debian installer, which I'm not going to help you with, since there are many other resources available (and the installer is generally quite straightforward).